

Important:
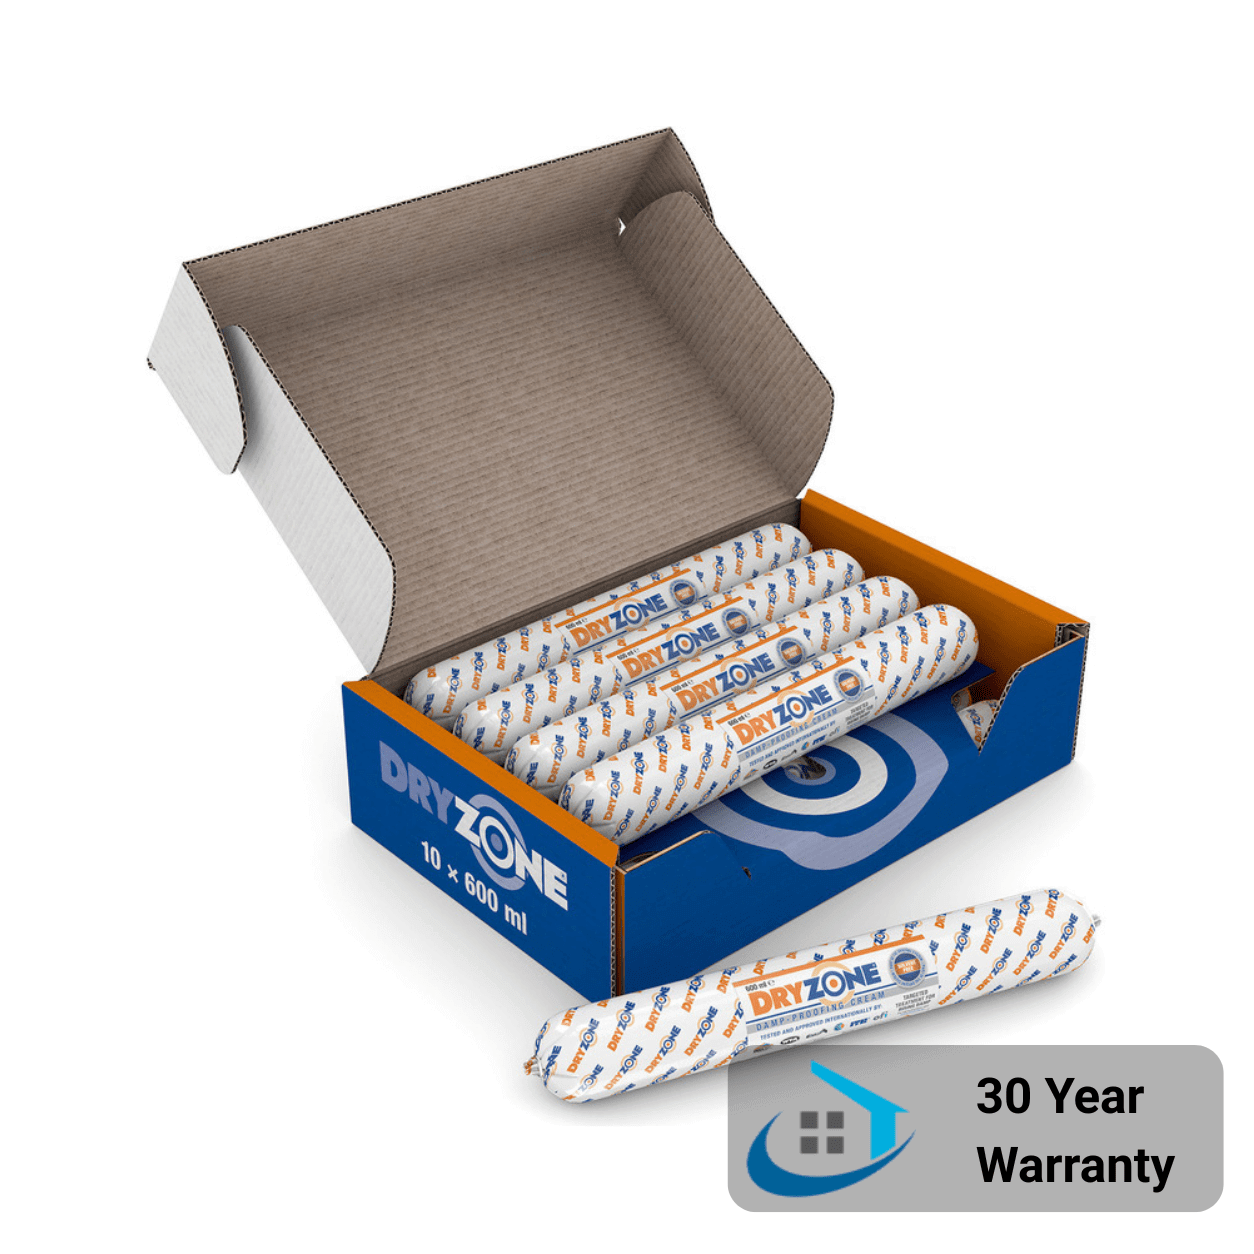
DryZone Tube Quantity Calculator
Installation Guide
-
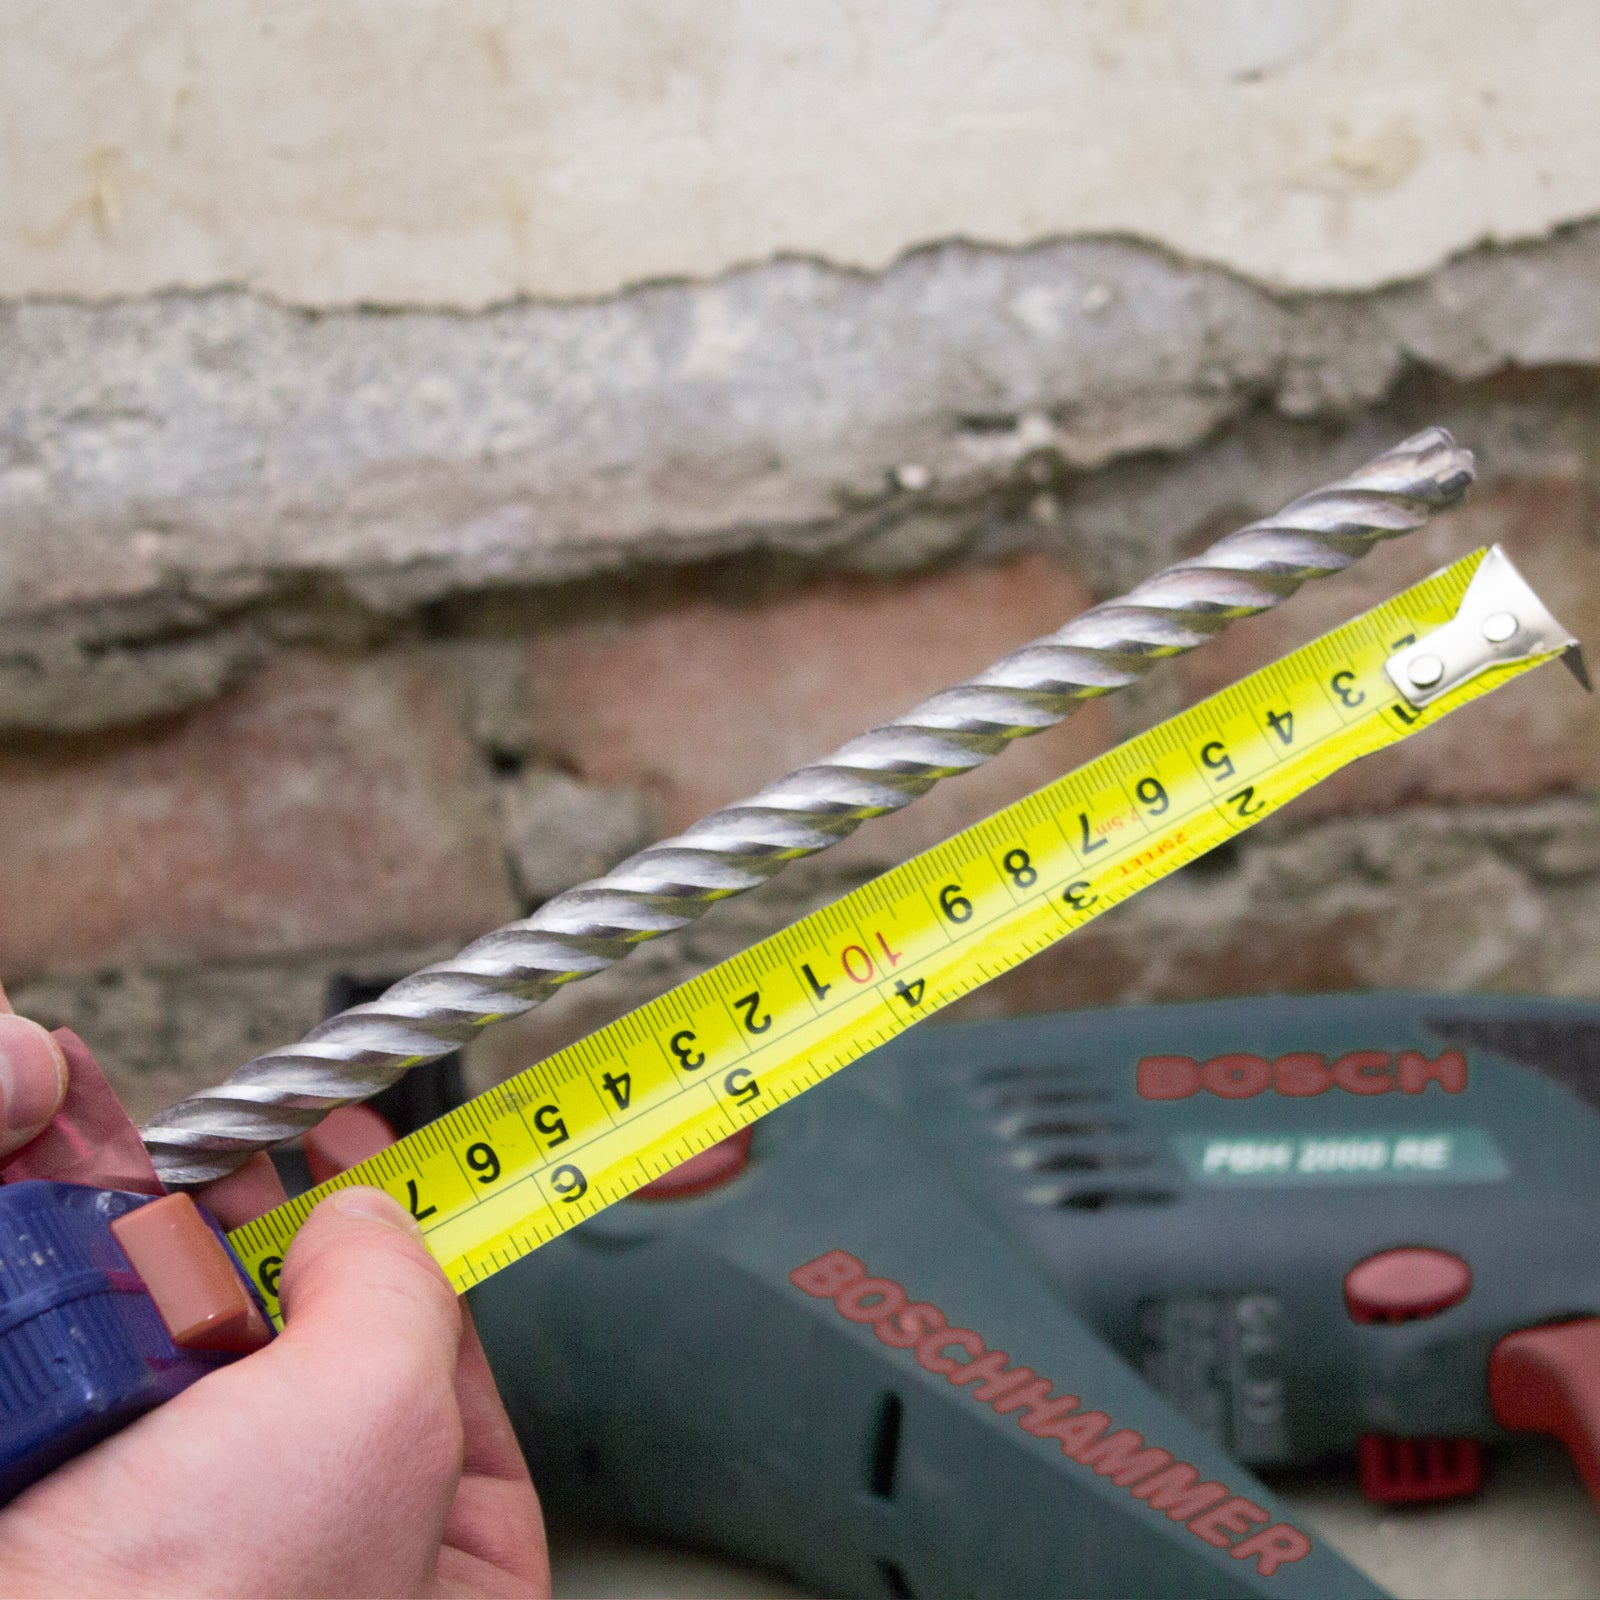
1. Mark Drill Bit
Mark your drill bit to drill to within 10mm of the far side of the wall you are treating.
Be sure to use the rotary hammer mode on your SDS drill.
-
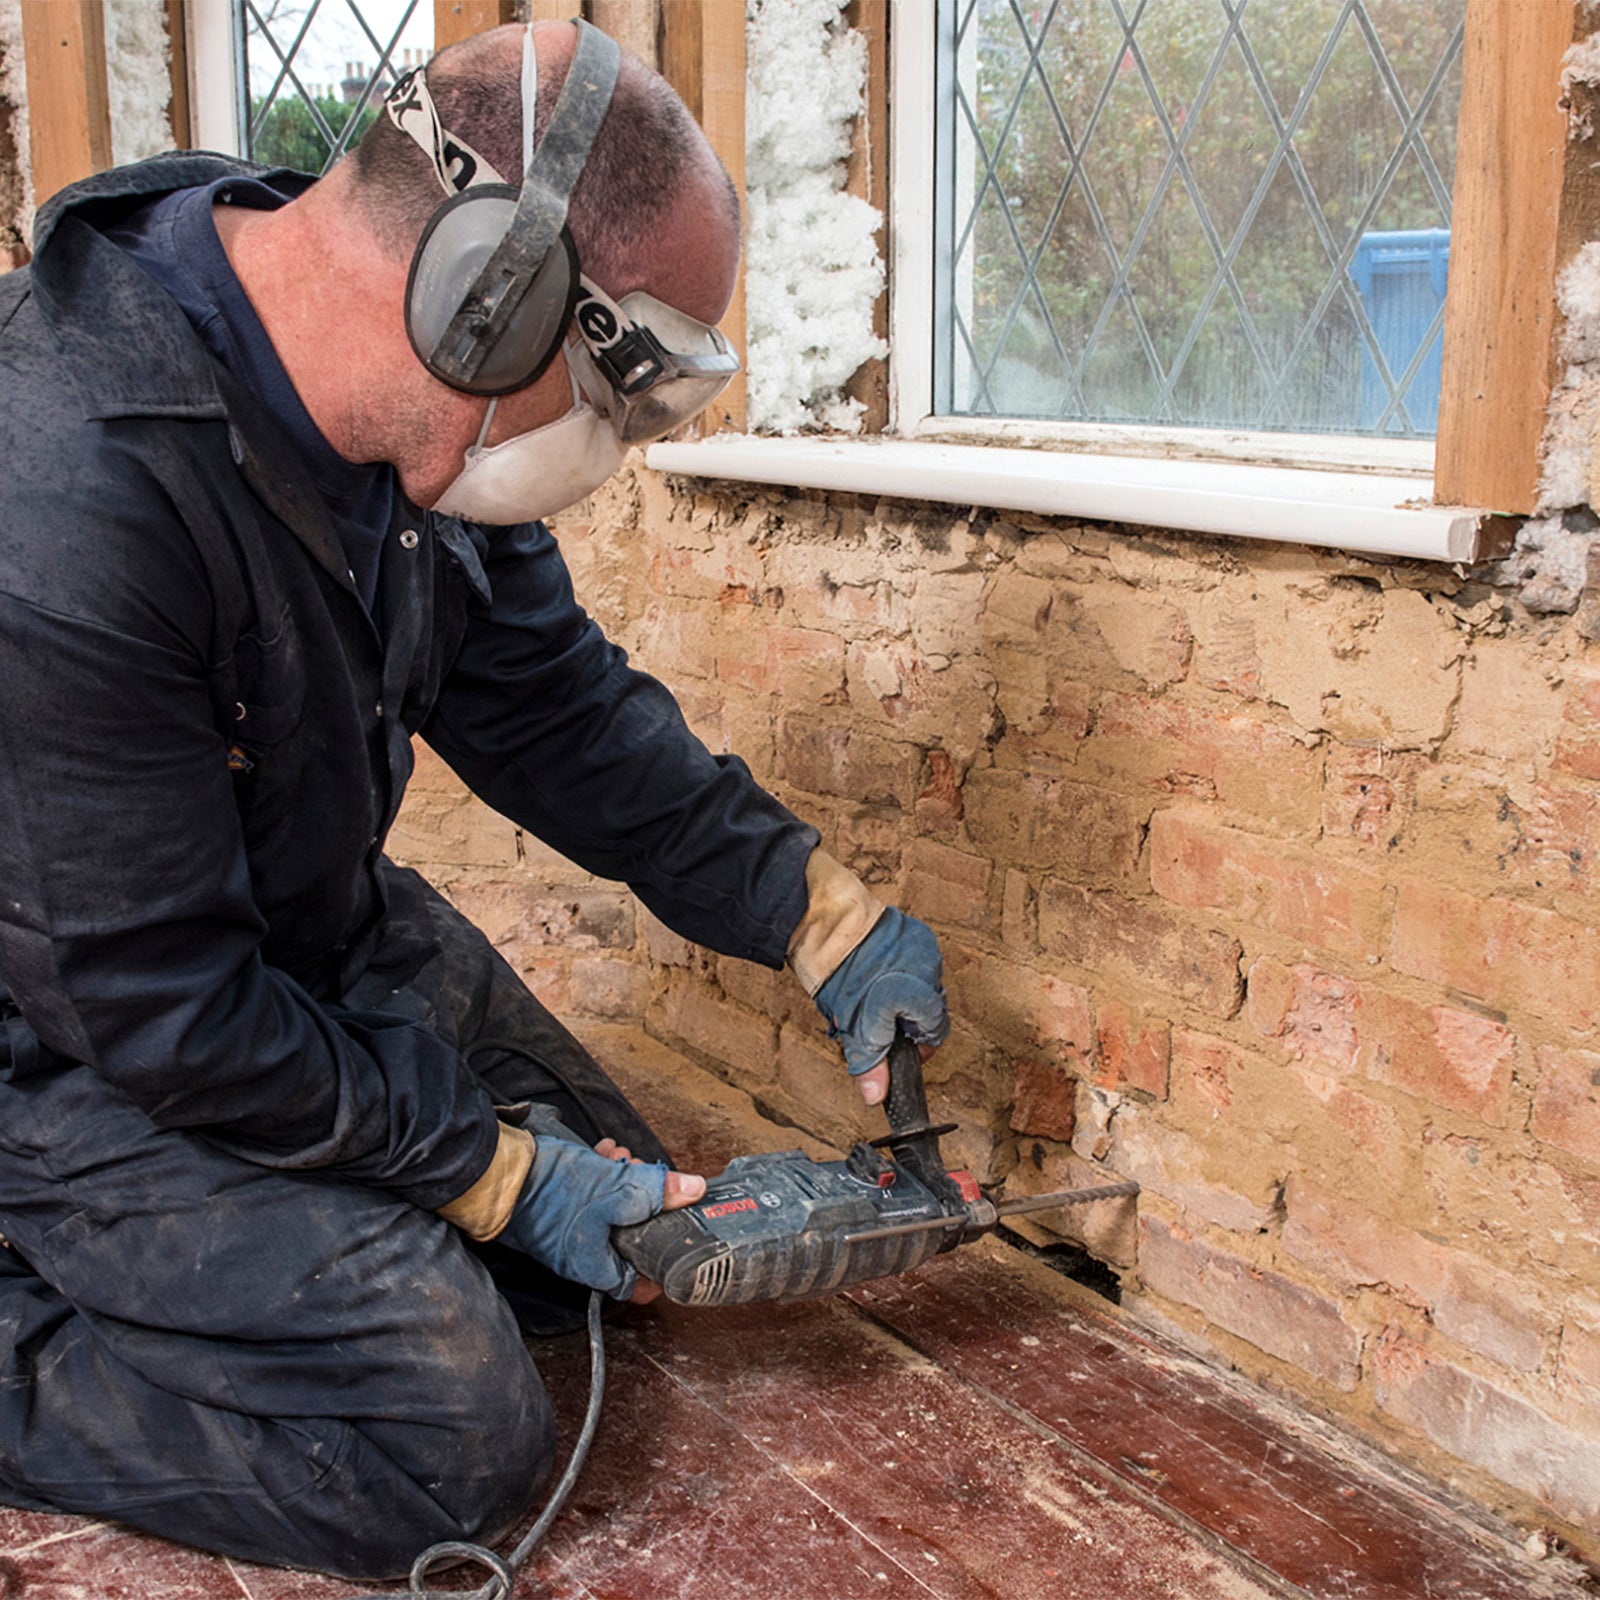
2. Drill Holes
Drill into the lowest mortar course above ground/floor level at 110mm centers.
Reduce the pressure on the drill as you get to within 30mm of the far side of the wall to prevent damage to the other side of the wall.
Make sure the hole is clear of debris by moving the drill bit back and forward.
-
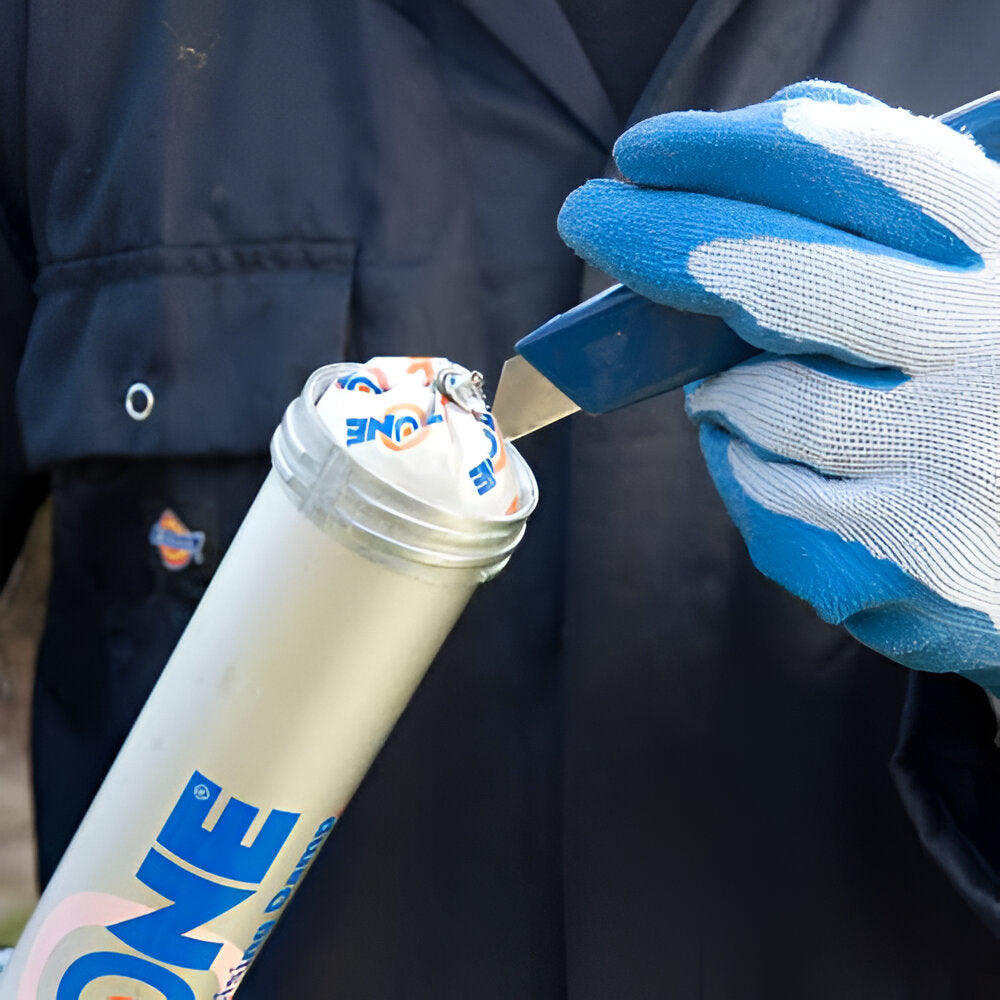
3. DryZone Preparation
Insert a DryZone cartridge into the applicator gun, ensuring the pressure piston is fully extended. Cut into the end of the cartridge so that cream will be able to flow freely. Screw the nozzle cap back onto the gun. Be sure to wear gloves when handling DryZone.


