Dryrod Installation Guide

Why Use DryRod?

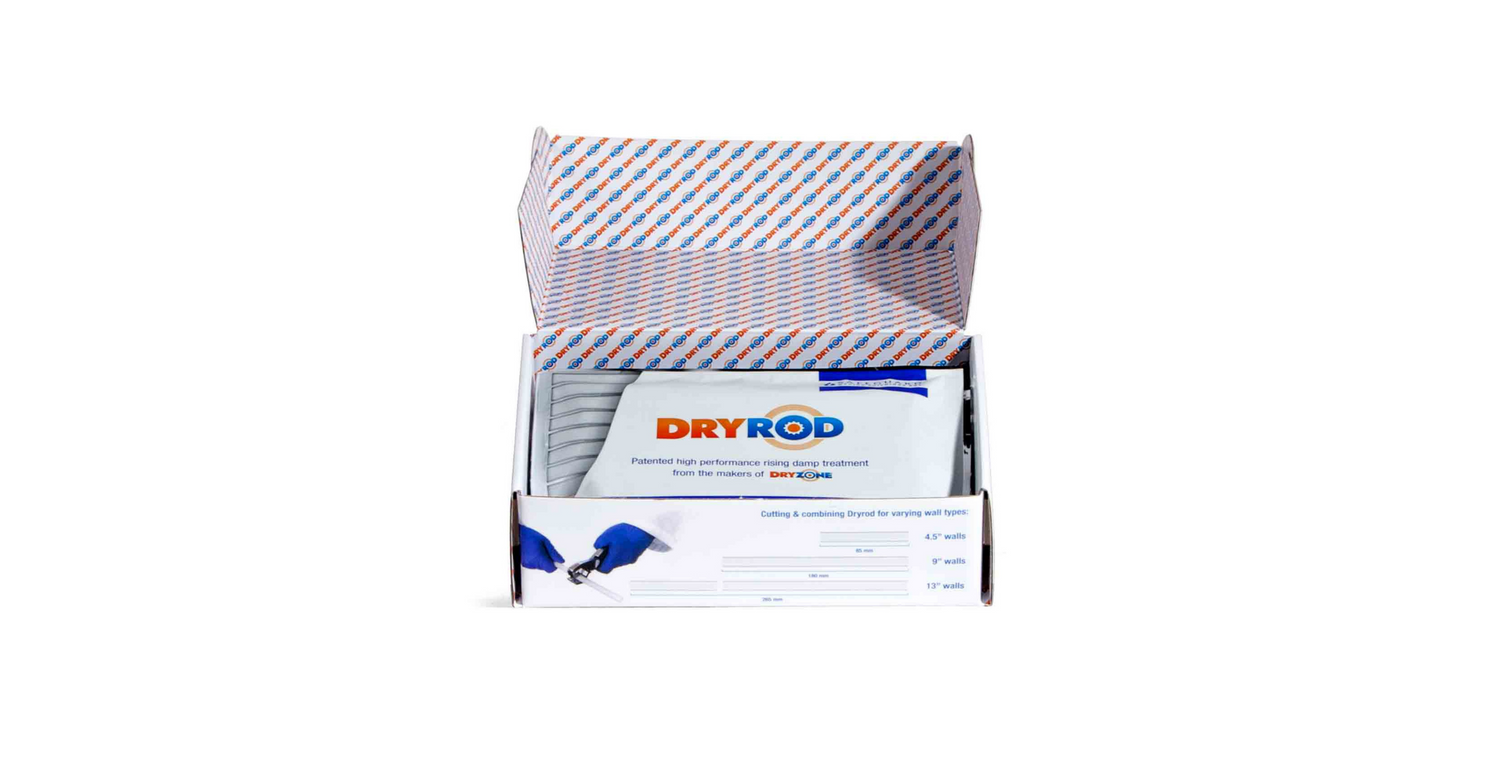
The Dryrod System developed by the makers of the leading Dryzone Damp Proofing Cream are even more effective and with guaranteed dosage and increased treatment speed are recommended for projects that demand maximum performance.

They are the quickest system available as the rods are simply inserted into pre-drilled 12mm holes along a continuous mortar course at 120mm centres. Perfect for DIY and an easy way to save money.

Buy Now
  • Step 1

    Mark your drill bit to drill to within 10 mm of the far side of the wall you are treating.

  • Step 2

    Use the rotary hammer mode on your SDS drill.

  • Step 3

    Drill into the lowest mortar course above ground/floor level at 120 mm centres. Reduce the pressure on the drill as you get to within 30 mm of the far side of the wall to prevent damage to the other side of the wall.

  • Step 4

    Make sure the hole is clear of debris by moving the drill bit back and forward.

  • Step 5

    Each Dryrod is 180 mm long - ideal for solid double brick walls. For single brick walls, cut rods in half. For 300 mm walls, insert 1.5 rods per hole, from one or both sides, as long as they're in the same mortar course. Alignment isn’t necessary.

  • Step 6

    Insert the rod into the hole recessed to approximately 10 mm from the face of the wall using the back of the drill bit.

DIY Installation Guide