Frequently Asked Questions

DryRod/Dryzone

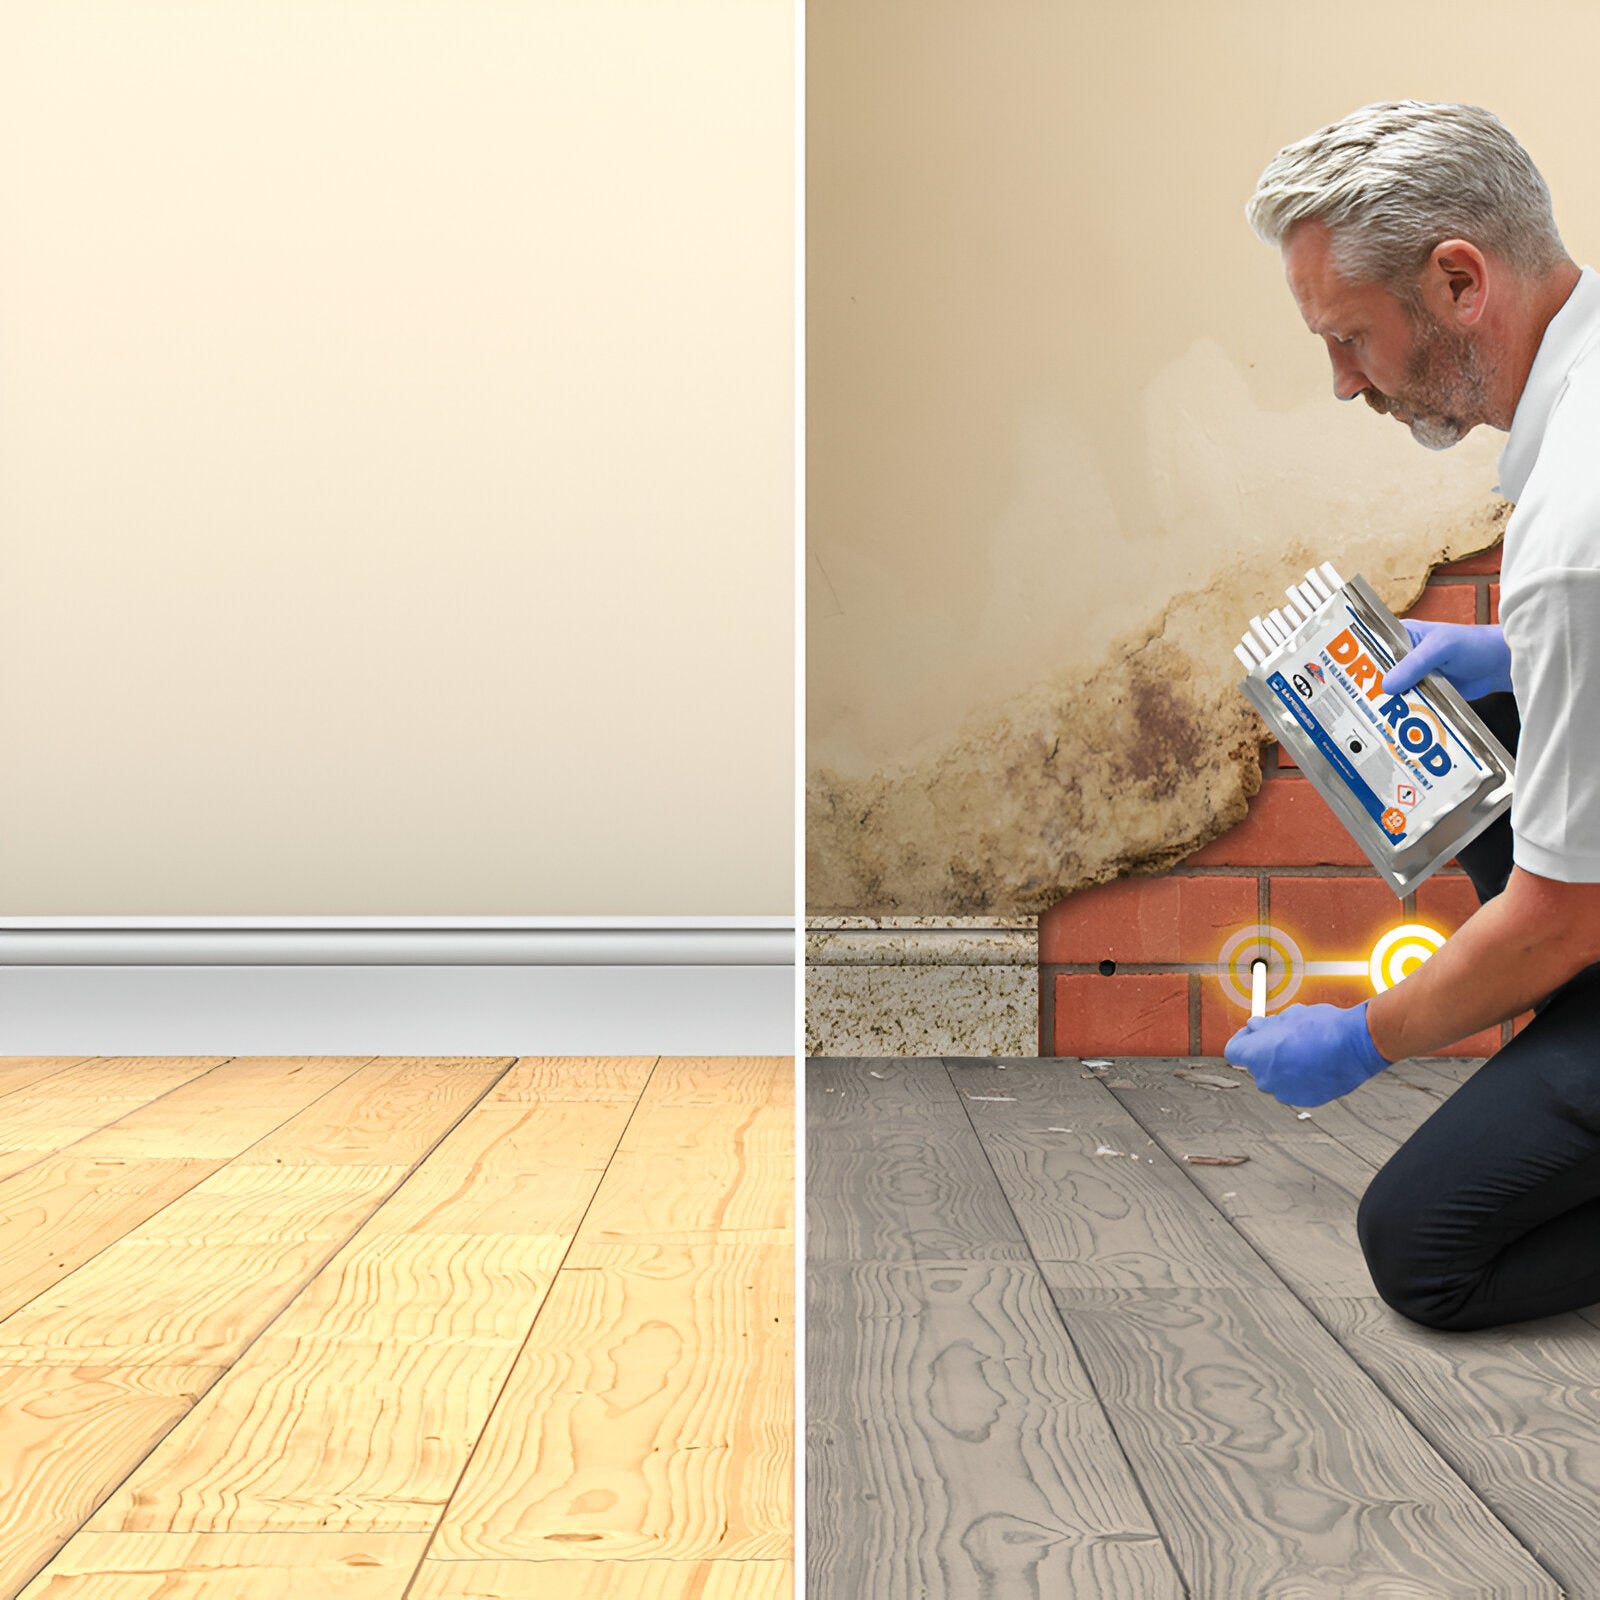
Dryzone and DryRod are the carriers that introduce the chemicals into the wall which then uses the same capillary action that the moisture used. The chemicals permeate around each hole up to 80mm radius.

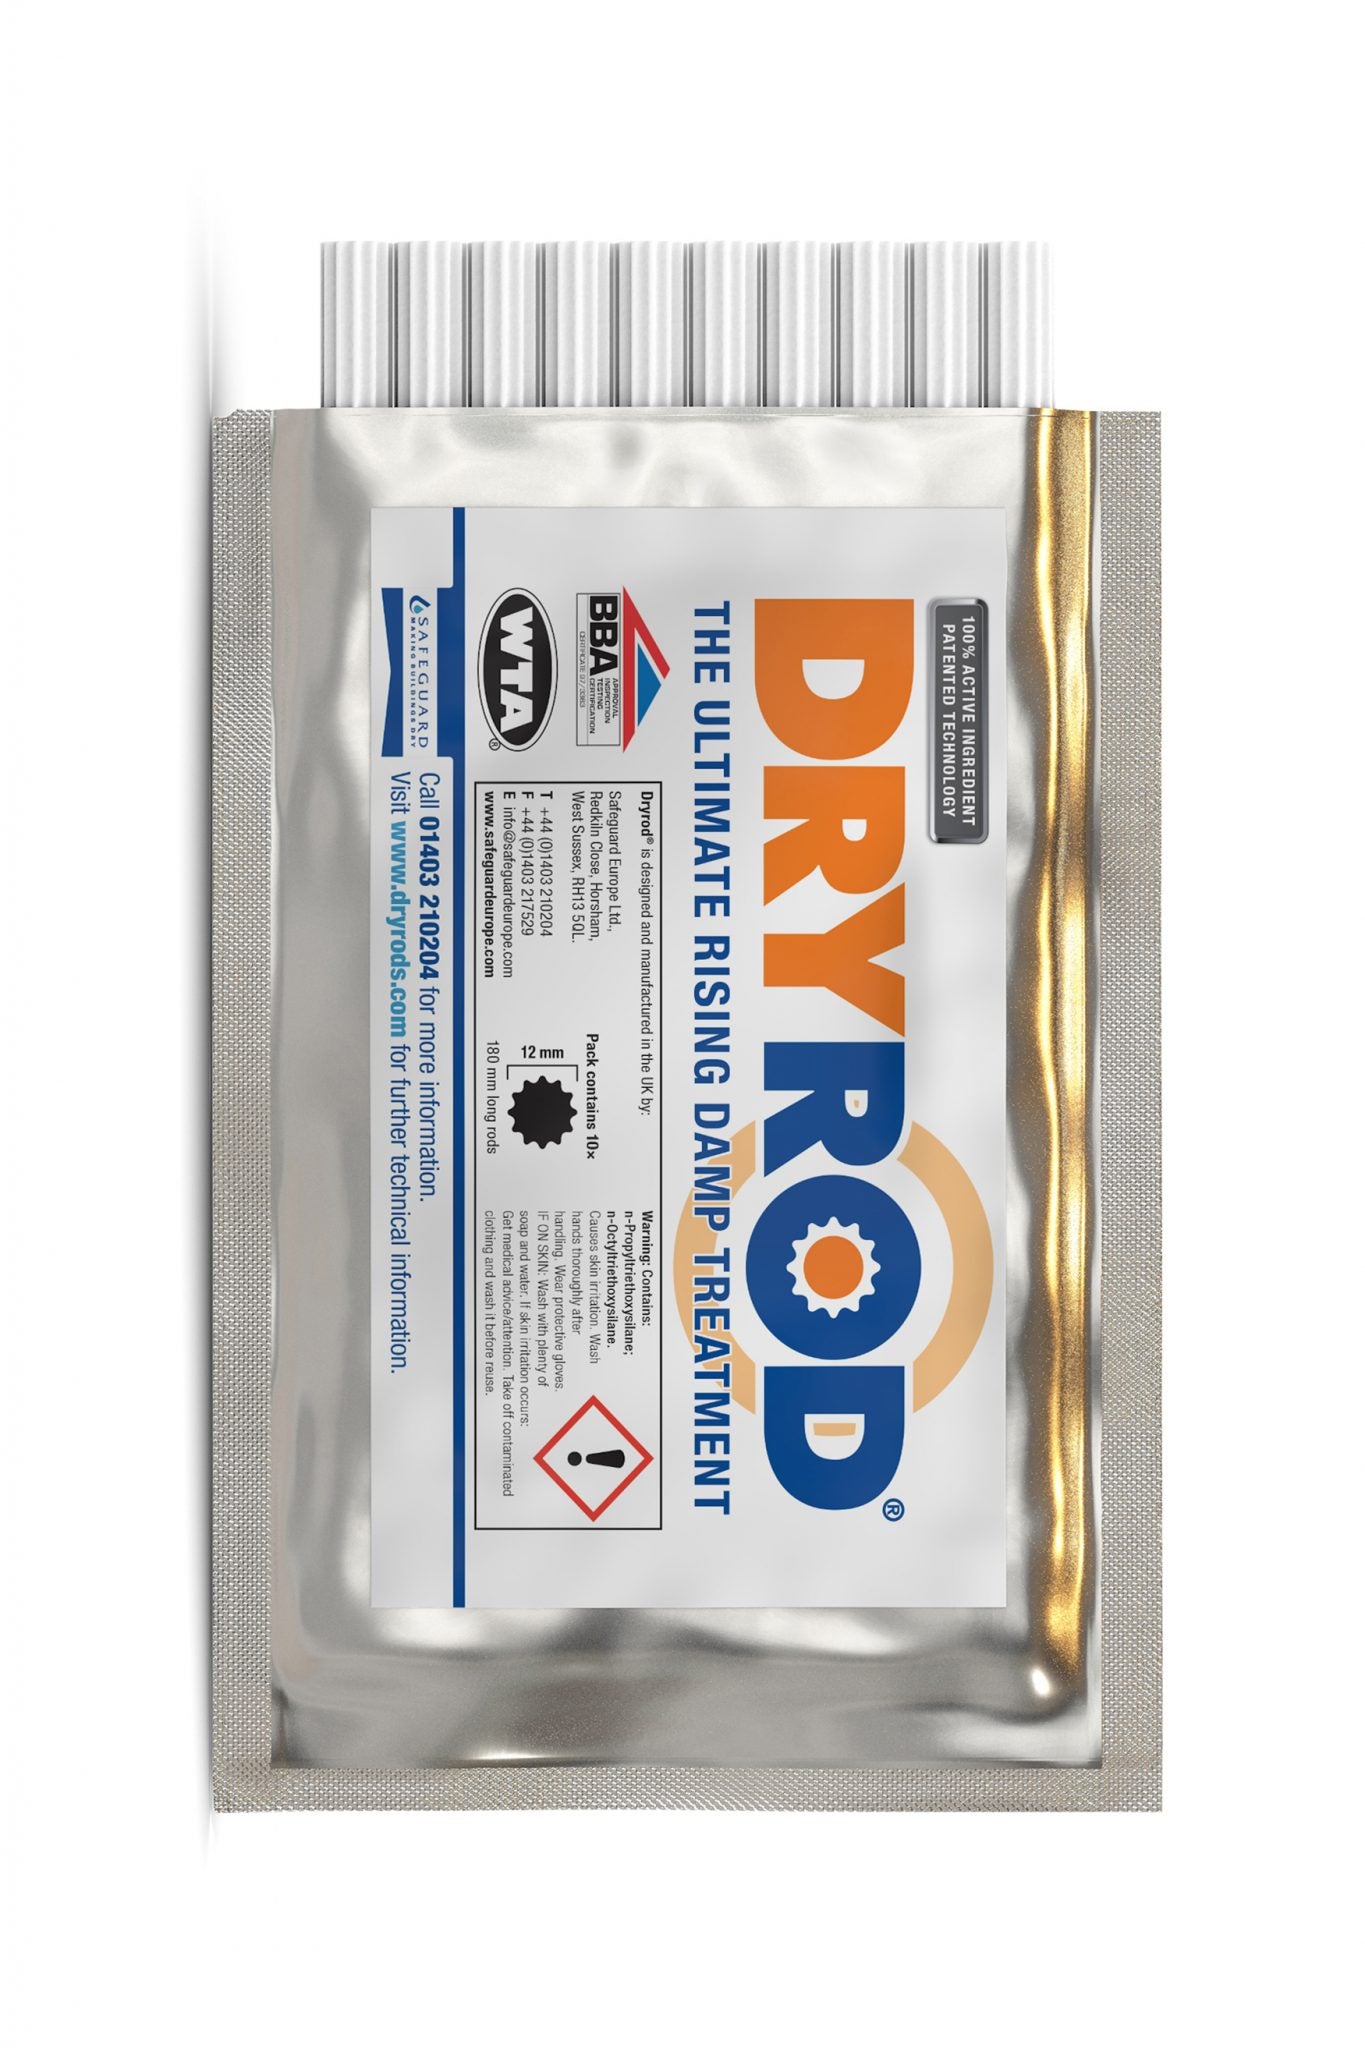
The only difference is the method of introducing the chemicals into the wall. Dryzone is a water-based cream carrier and DryRod is a solid fibrous rod carrier. The chemicals are the same and both get the same results.

Both will give you the same result as the ingredients are the same for both and equally effective to prevent rising damp and/or rising salt damp. Dryrod was designed as the most efficient way to treat rising damp in brickwork as it is clean and easy to apply. (Please see video on Dryrod DIY page) Dryzone is more suitable for walls thicker than 330 mm as it is injected through a metal nozzle which is easy to remove if the hole is not clear of rubble allowing the hole to be redrilled. Dryzone is more economical than Dryrod and should be considered for any application when treating larger projects.

Rising Damp is caused by the same natural capillary action by which plants absorb moisture into their stems from the soil beneath. It becomes Rising Salt Damp when mineral salts are present in the soil and are drawn up with the moisture.

Lateral Damp is caused when there is soil higher on the other side of the wall causing the damp to enter the wall laterally from the soil. Lateral damp is prevalent in cellars and houses built into the side of a hill.

No, DRYROD/DRYZONE is designed specifically to prevent Rising Damp/Salt Damp.

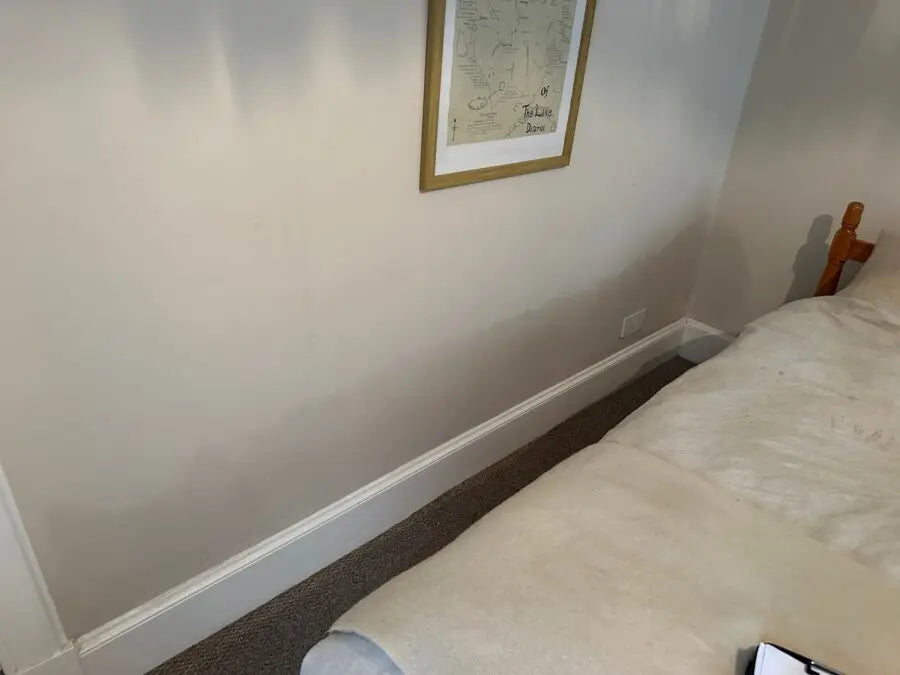
Flaking paint, bubbling plaster, crumbling bricks, stonework and mortar are the indications of rising damp. As long as there is no soil or rubbish higher on the other side of the wall then it is rising damp.

No system on the market can get rid of the salts and or any residual moisture already in the wall above where you have introduced the new Damp Proof Course. The residual moisture will dry out over a period of time depending on how damp the walls are and weather conditions. However the residual salts will continue to attract airborne moisture so it is imperative to introduce a salt retarder/moisture barrier into the new render if and when replastering.

No, we recommend Stormdry also manufactured by Safeguard in the U.K. For more information on Stormdry visit www.stormdry.com.au.

No, it is advisable to aggressively remove all loose mortar with a screwdriver and/or stiff wire brush and re-point with 5 parts builders sand and 1 part cement before injecting DRYROD/DRYZONE.

If the existing render is bubbling then it is contaminated with salts and needs to be removed. Sanding back will not solve the problem and is a waste of time as the salts will reactivate and cause more bubbling.

Yes, as long as you introduce a moisture barrier in the new render to prevent residual moisture/salts present in the wall affecting the new render. We recommend Aftek Number 2 paste which is added to the water when mixing 3 parts renderer’s sand with 1 part cement. The best place to purchase moisture barriers are builders’ hardware stores as they can advise you on alternatives if they don’t stock the Aftek product.

No, you only need to replaster the bottom part, normally up to 600-700mm but in any event at least 100mm above the height of the rising damp.

You only need to plug the holes for aesthetic reasons and they can be plugged straight after application.

No. The rods are a solid, fibrous rod designed to remain in the hole.

I often get asked this question as there is no visible indication of the chemicals leaving the rod and permeating through the masonry as the treatment is invisible. To prove that it has worked spray along the treatment line with a fine water spray a week after applying and you will see the water beading.

Yes, it is advisable to treat the whole wall as the damp can rise where you have not treated and spread over the top of the treated area. Use any excess Rods by inserting them vertically in each corner.

If you have access from both sides you can treat each side as if it was a single brick wall.

If access is only possible from one side, simply drill across the cavity to within 10mm of the far side.

When using Dryzone push the nozzle across the cavity to within 10mm of the far side and gently squeeze the trigger whilst withdrawing the nozzle 90mm. Withdraw nozzle a further 30mm without injecting and then a further 100mm was gently squeezing the trigger.

When using Dryrod cut the 180mm rod in half and using the back of your drill bit push the first half across the cavity into the far side and the remaining half into the side closest.

If we haven’t answered your question, please call 0402 278 053.